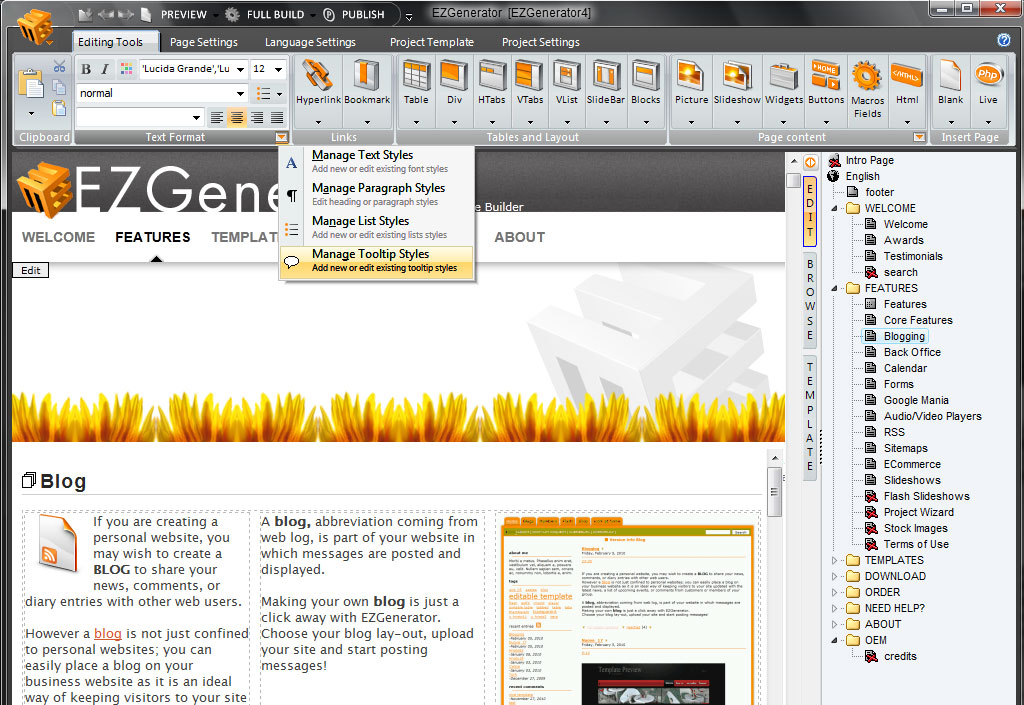
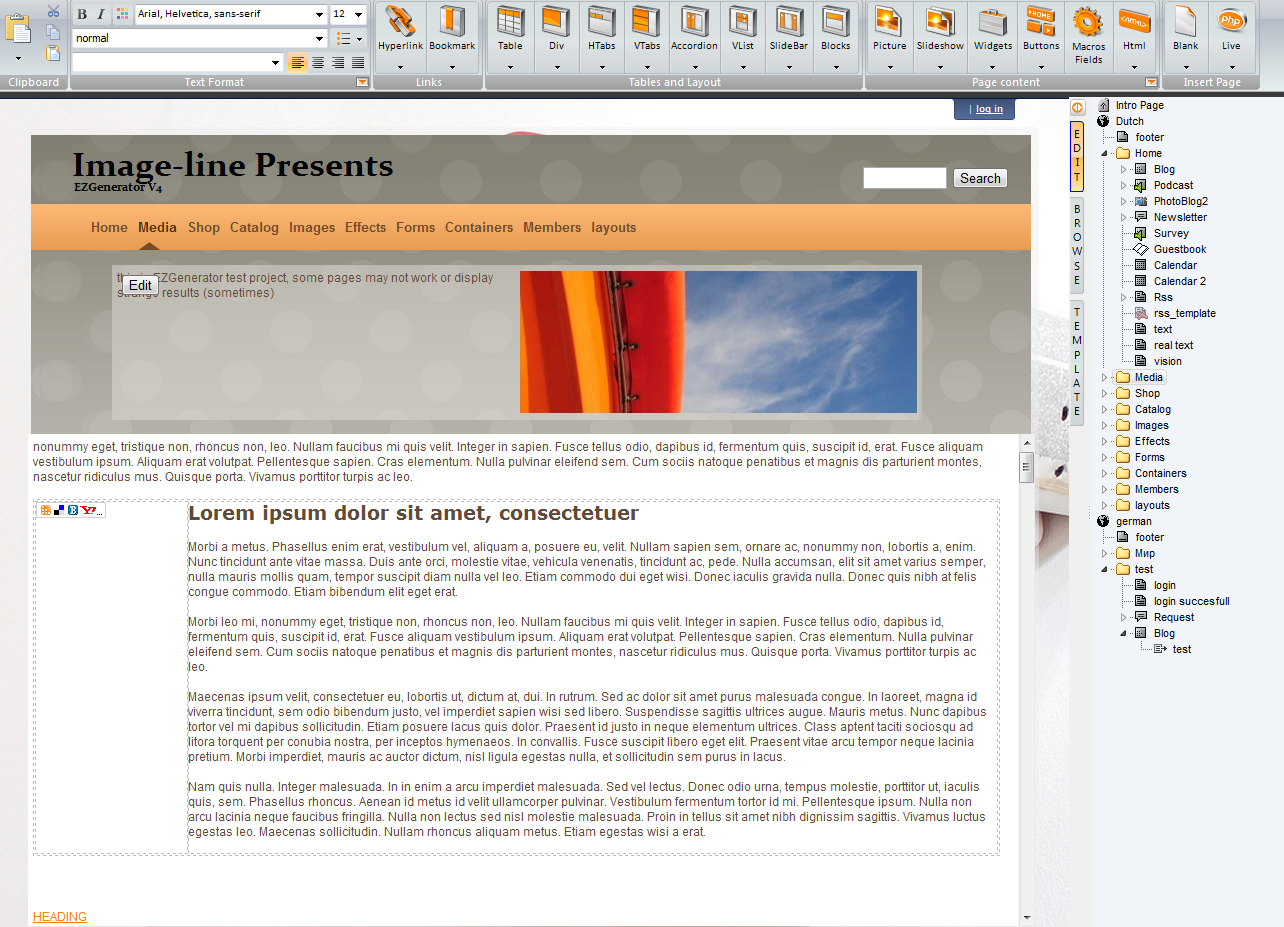
 Tooltips are pop-up texts that appear when the visitor places their mouse cursor over a link or feature. In EZGenerator 4 you now can design your own tool-tip boxes and make them into ‘styles’ to be used in your project.
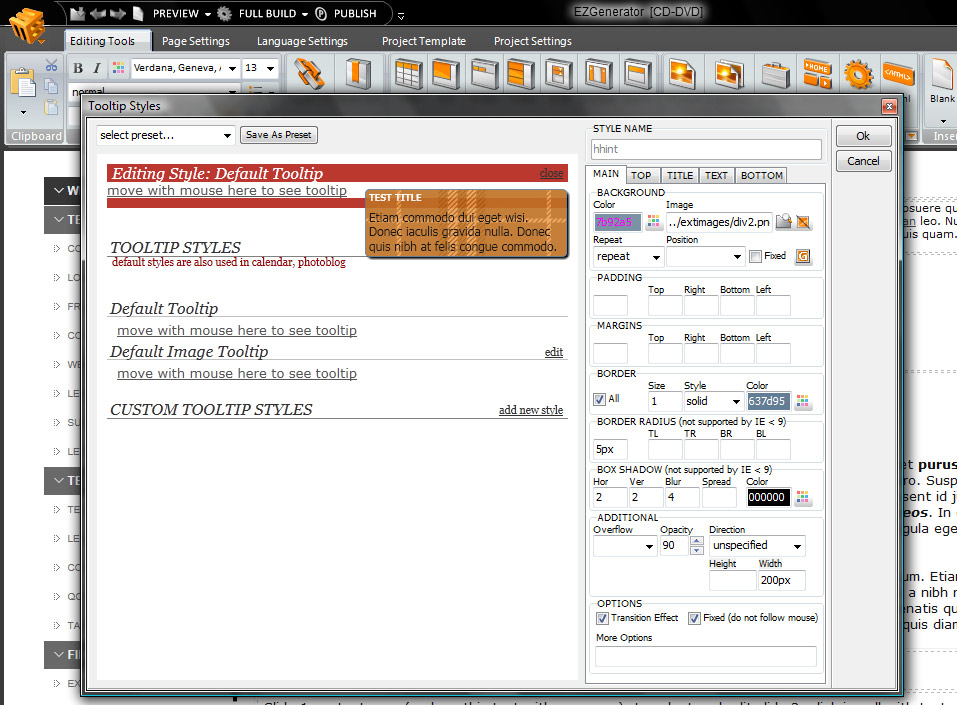
From the ‘Manage Tooltip Styles’ dialogue (second thumbnail below) there are five tabs: Main, Top, Title, Text and Bottom. From these you can input settings to define background colour, font colour and image dimensions etc.
If you want to use a transparent image, as shown in the example you must remove background colours from all the tabs where it is present.
Click image to the left to see an example as well as the thumbnails below outlining the various screens.


 Back To Top feature can be useful to visitors reading long articles or browsing large pages. Instead of scrolling all the way to the top, your visitors can click on Back To Top Button. Button colors (both arrow and background) can be customized.

 SideZoom display thumbnail of image.
 Login windows are never exciting, but they are also a pain when your visitors can’t find them on the page or they hog space.
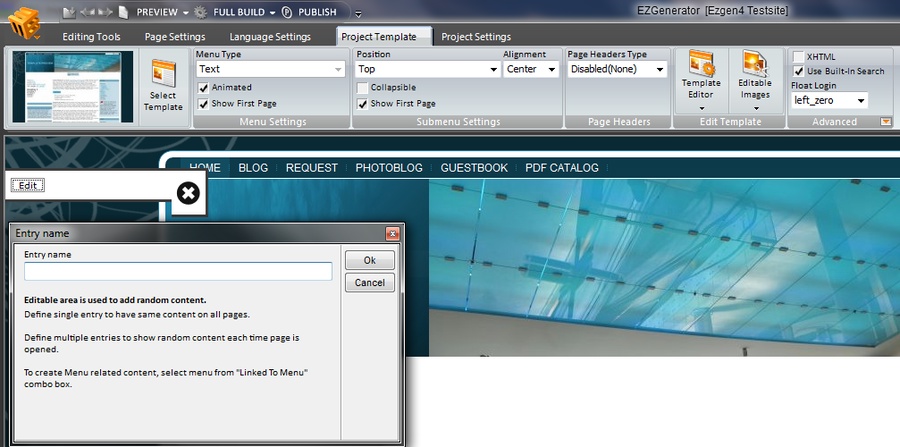
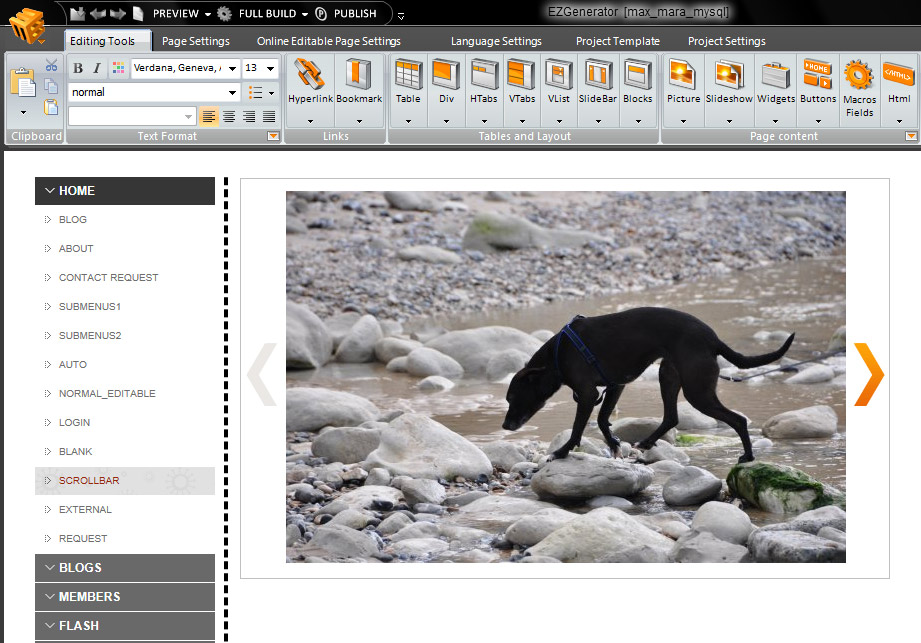
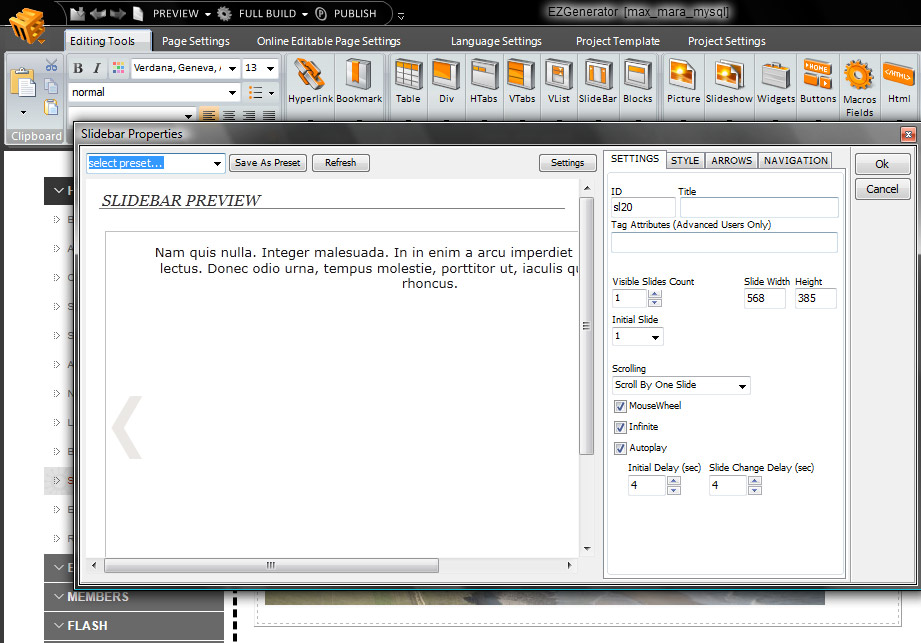
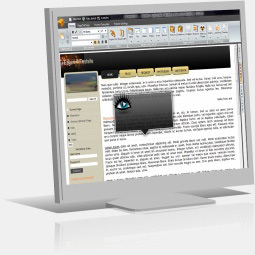
 New to EZGenerator 4 is the Slide-bar window that contains images and or text with an integrated scroll-bar. This is a great way to fit more easily accessible content on your pages. You can also scroll the content automatically and adjust the speed of the transition.